£2,695.00

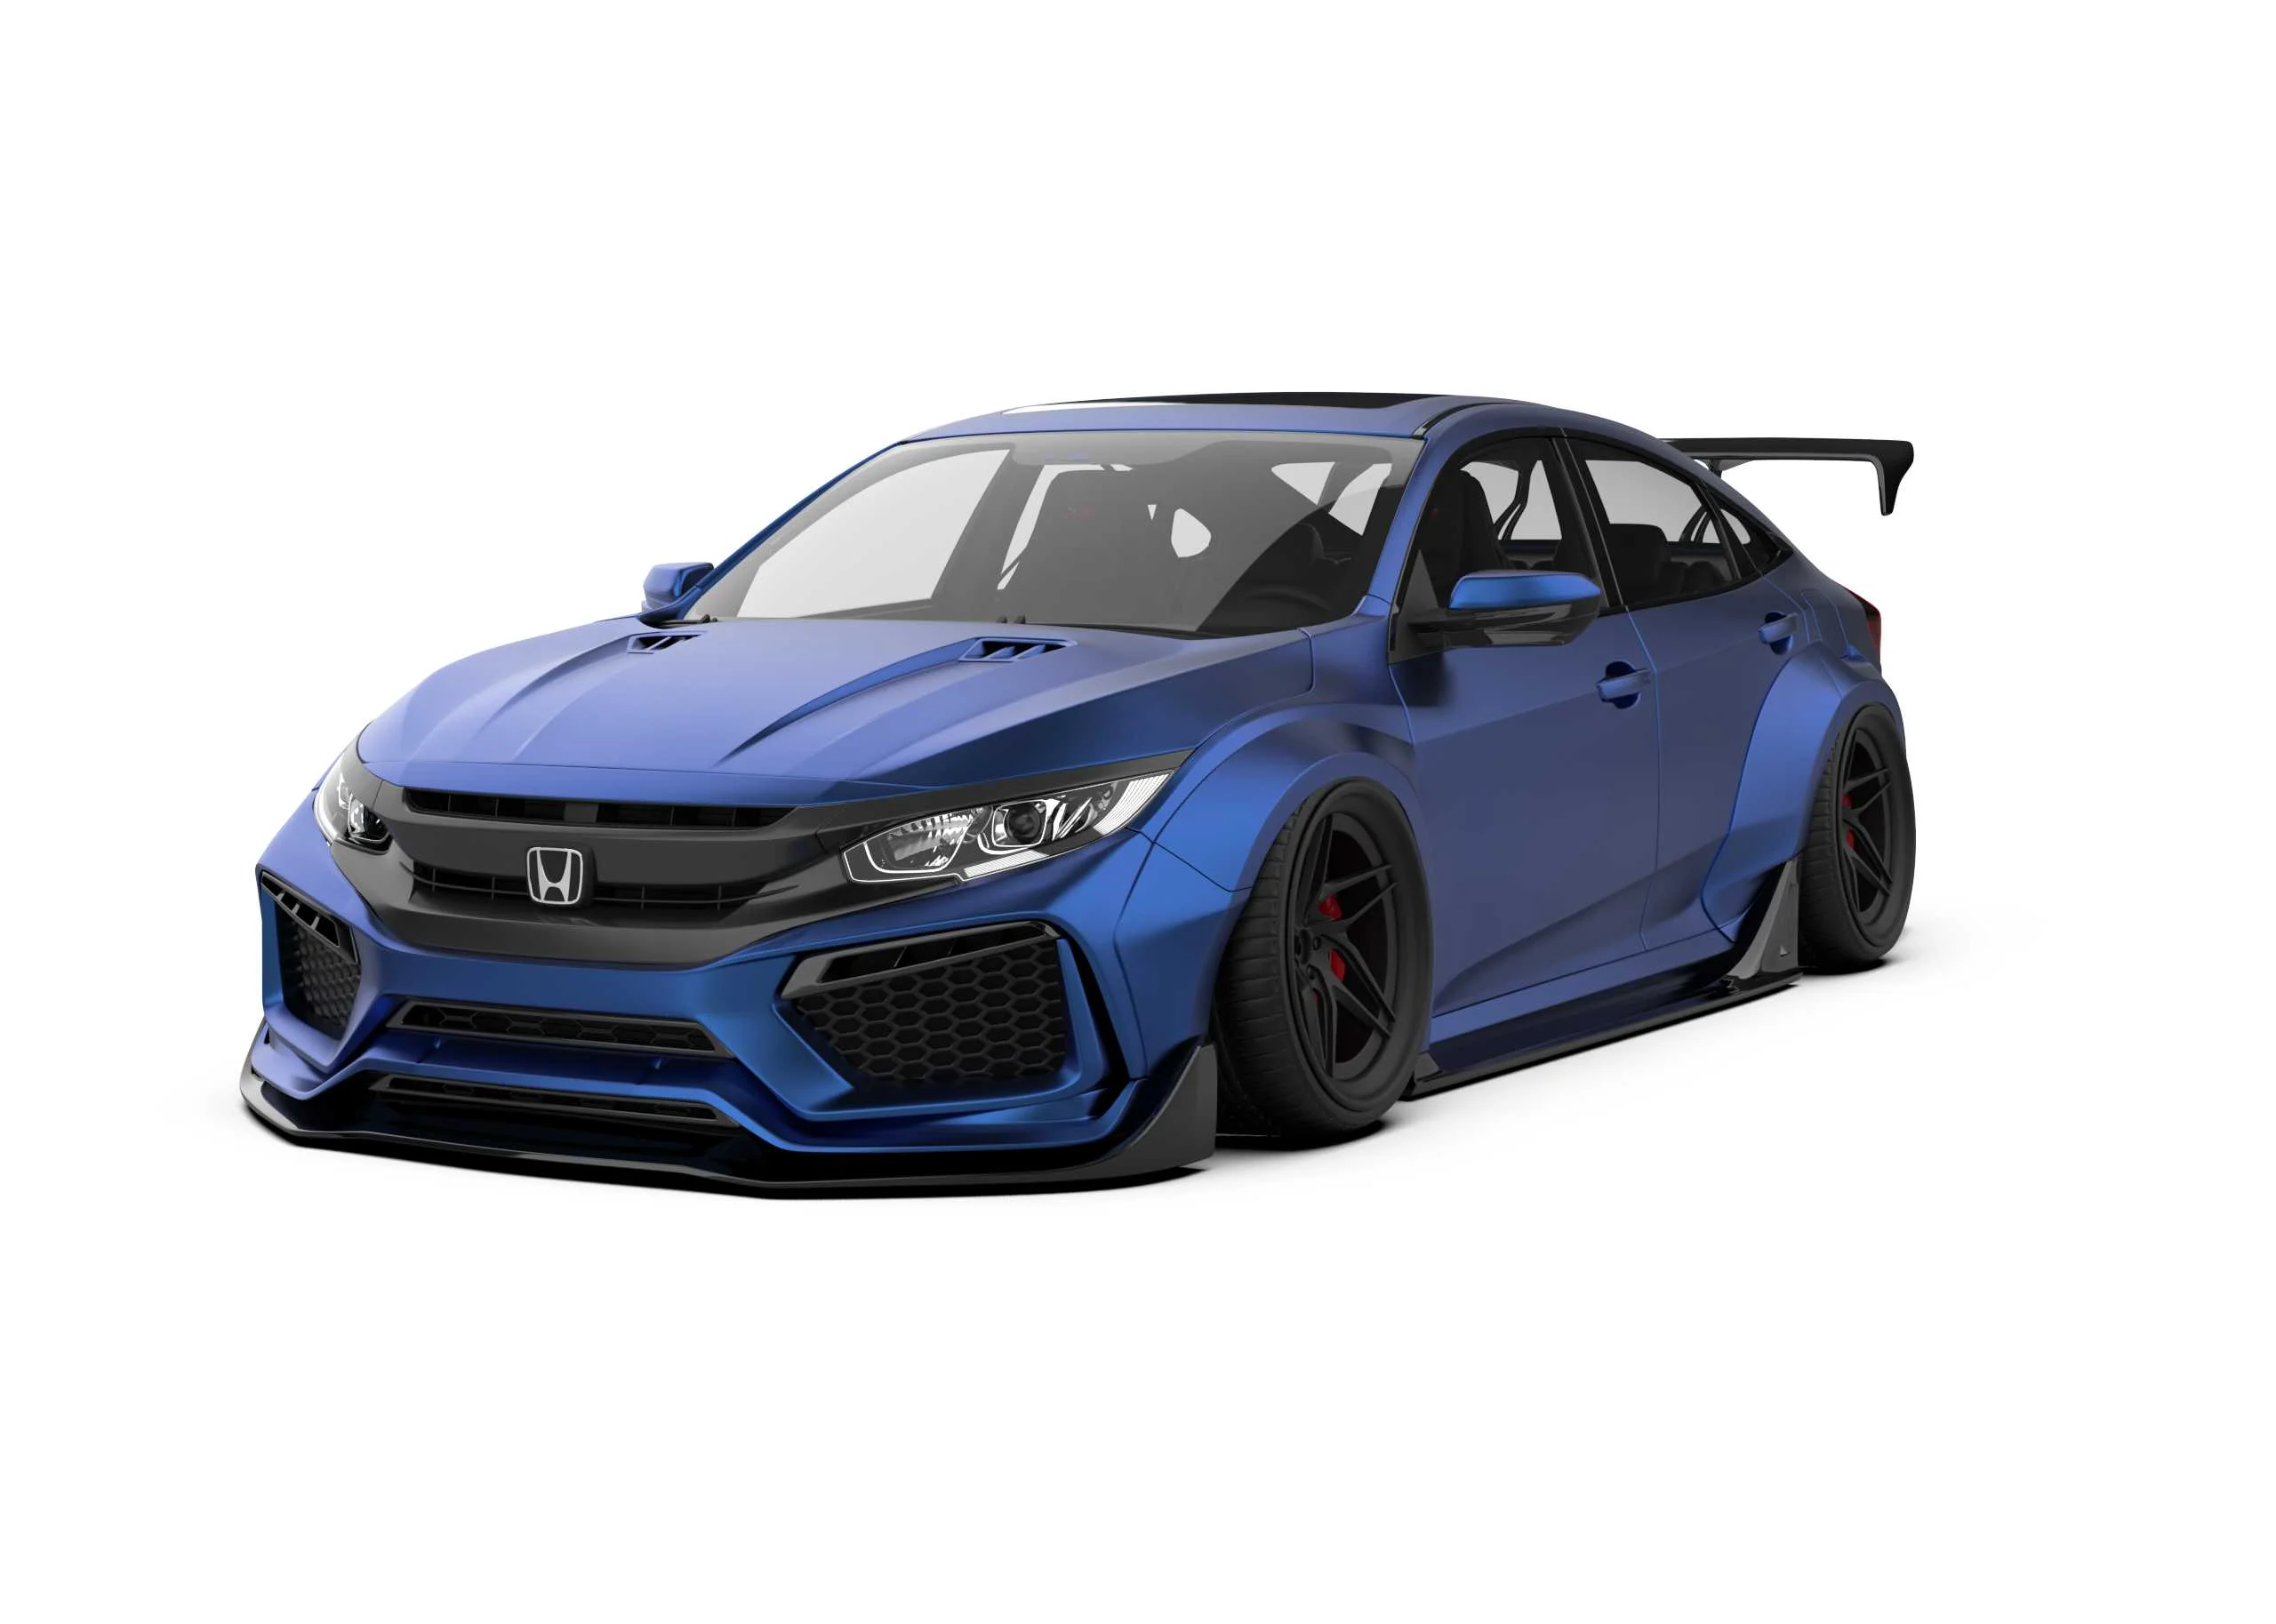
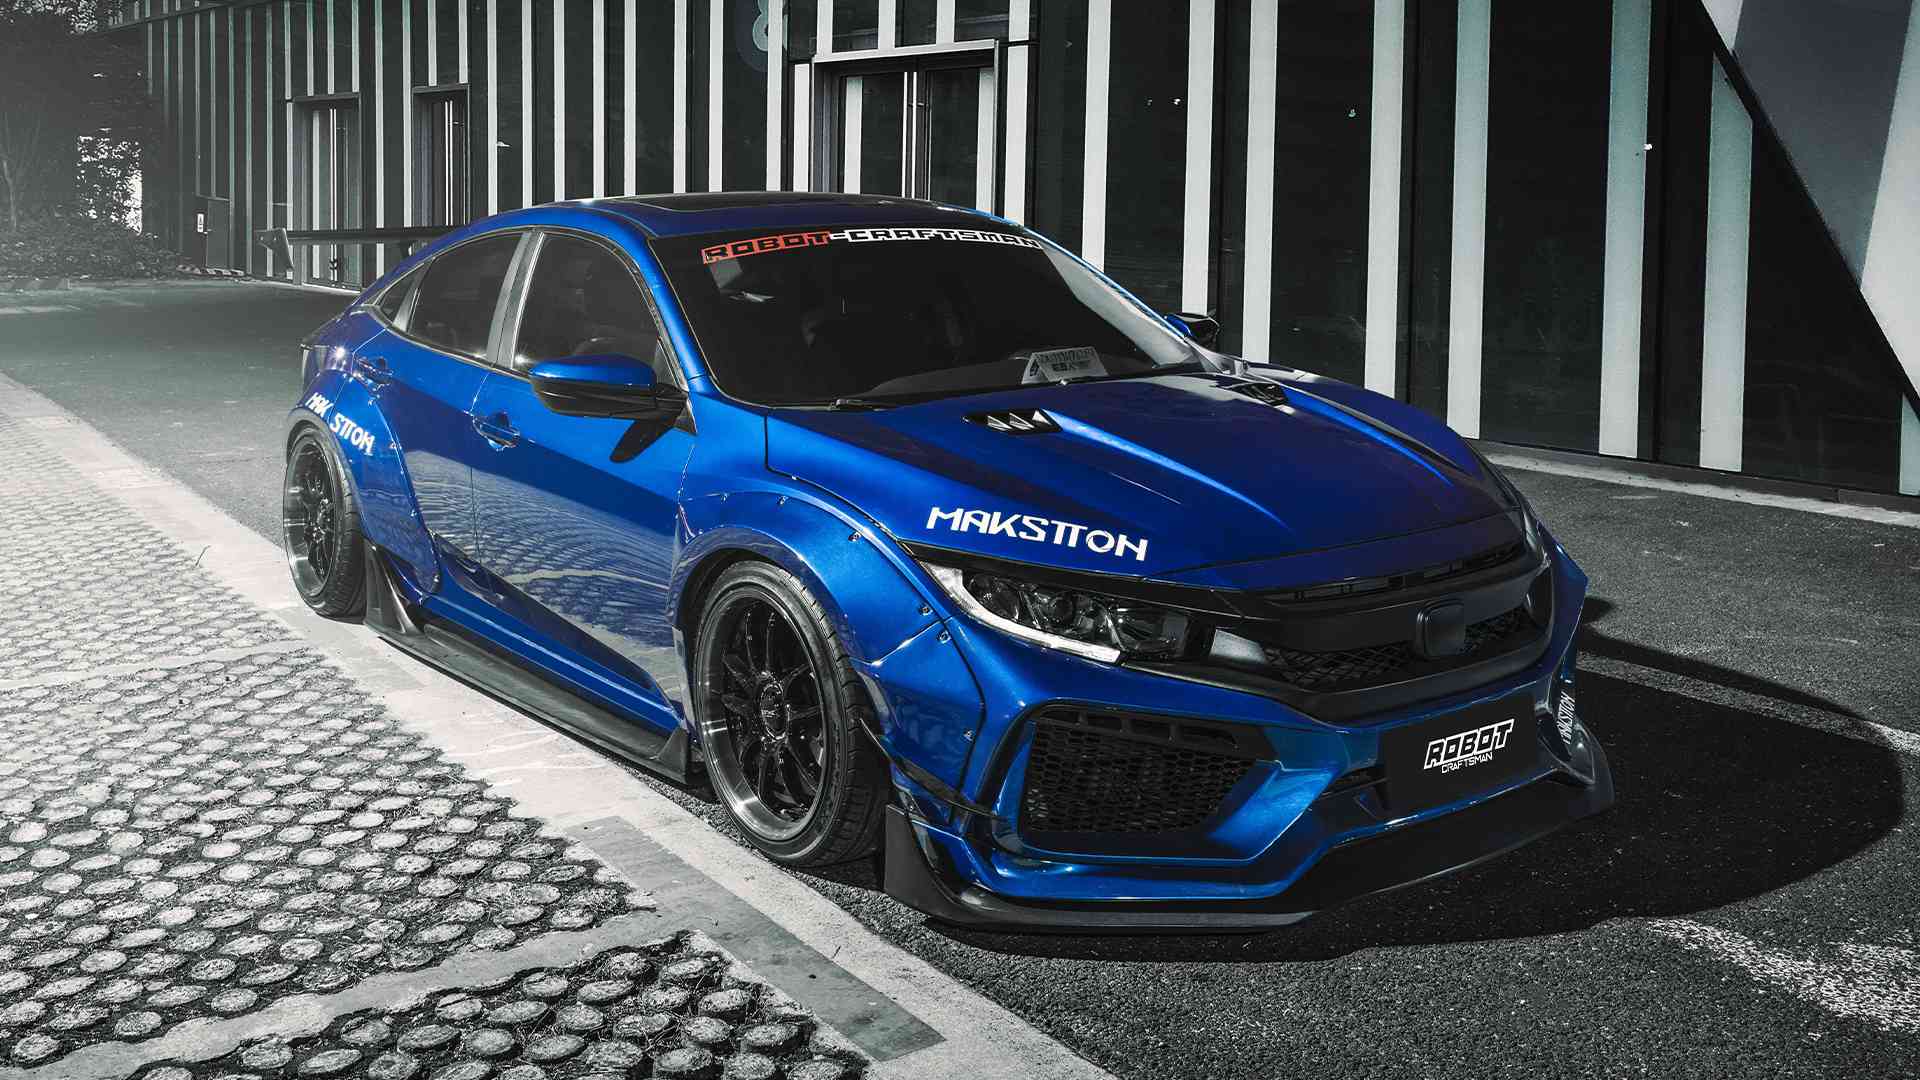
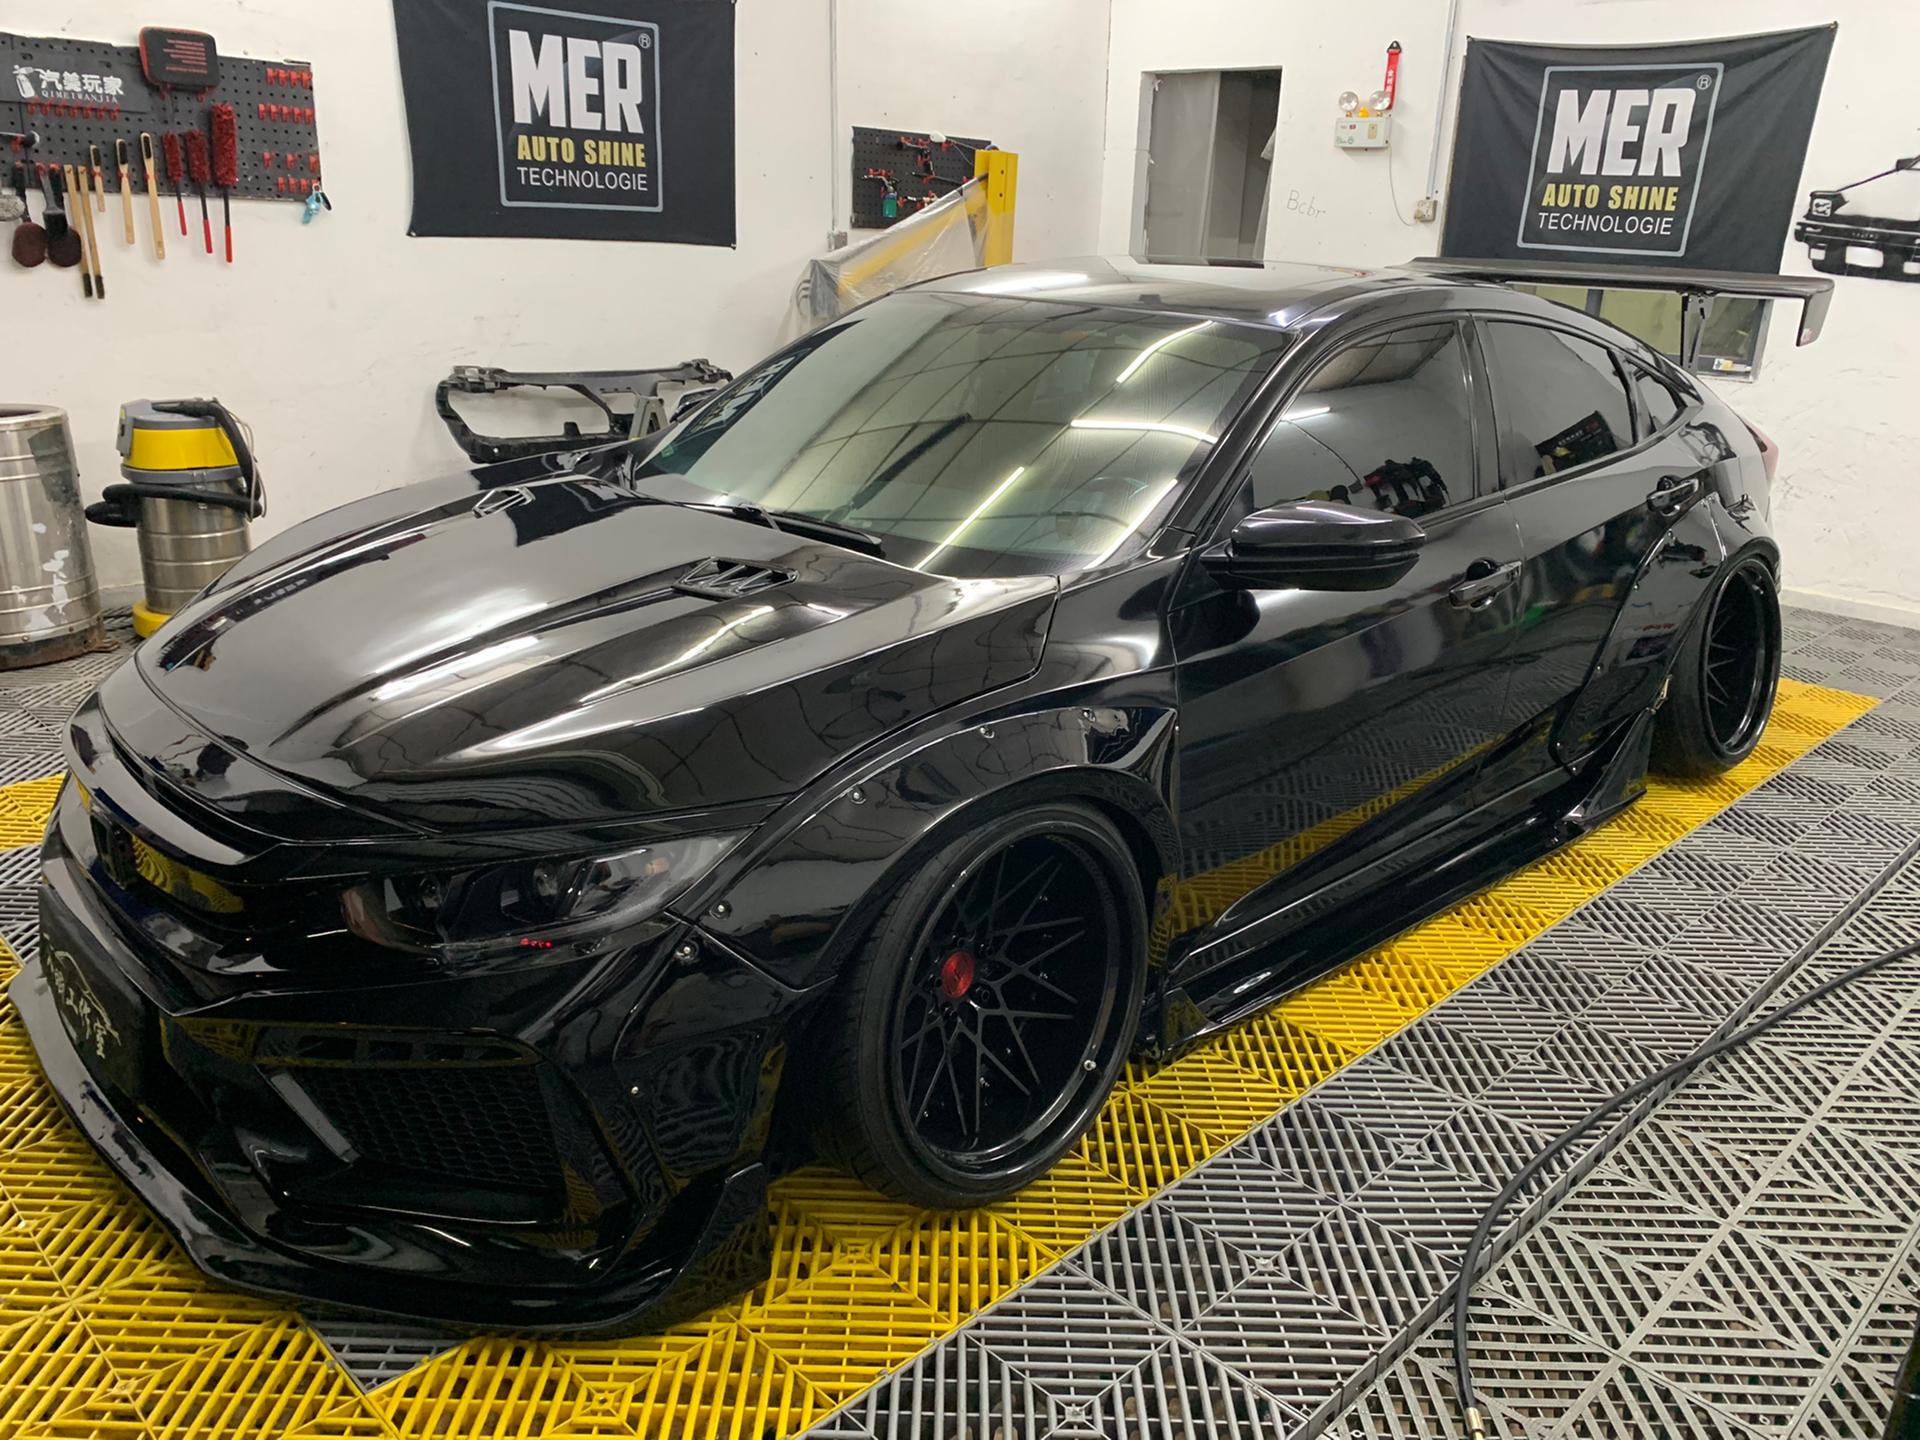
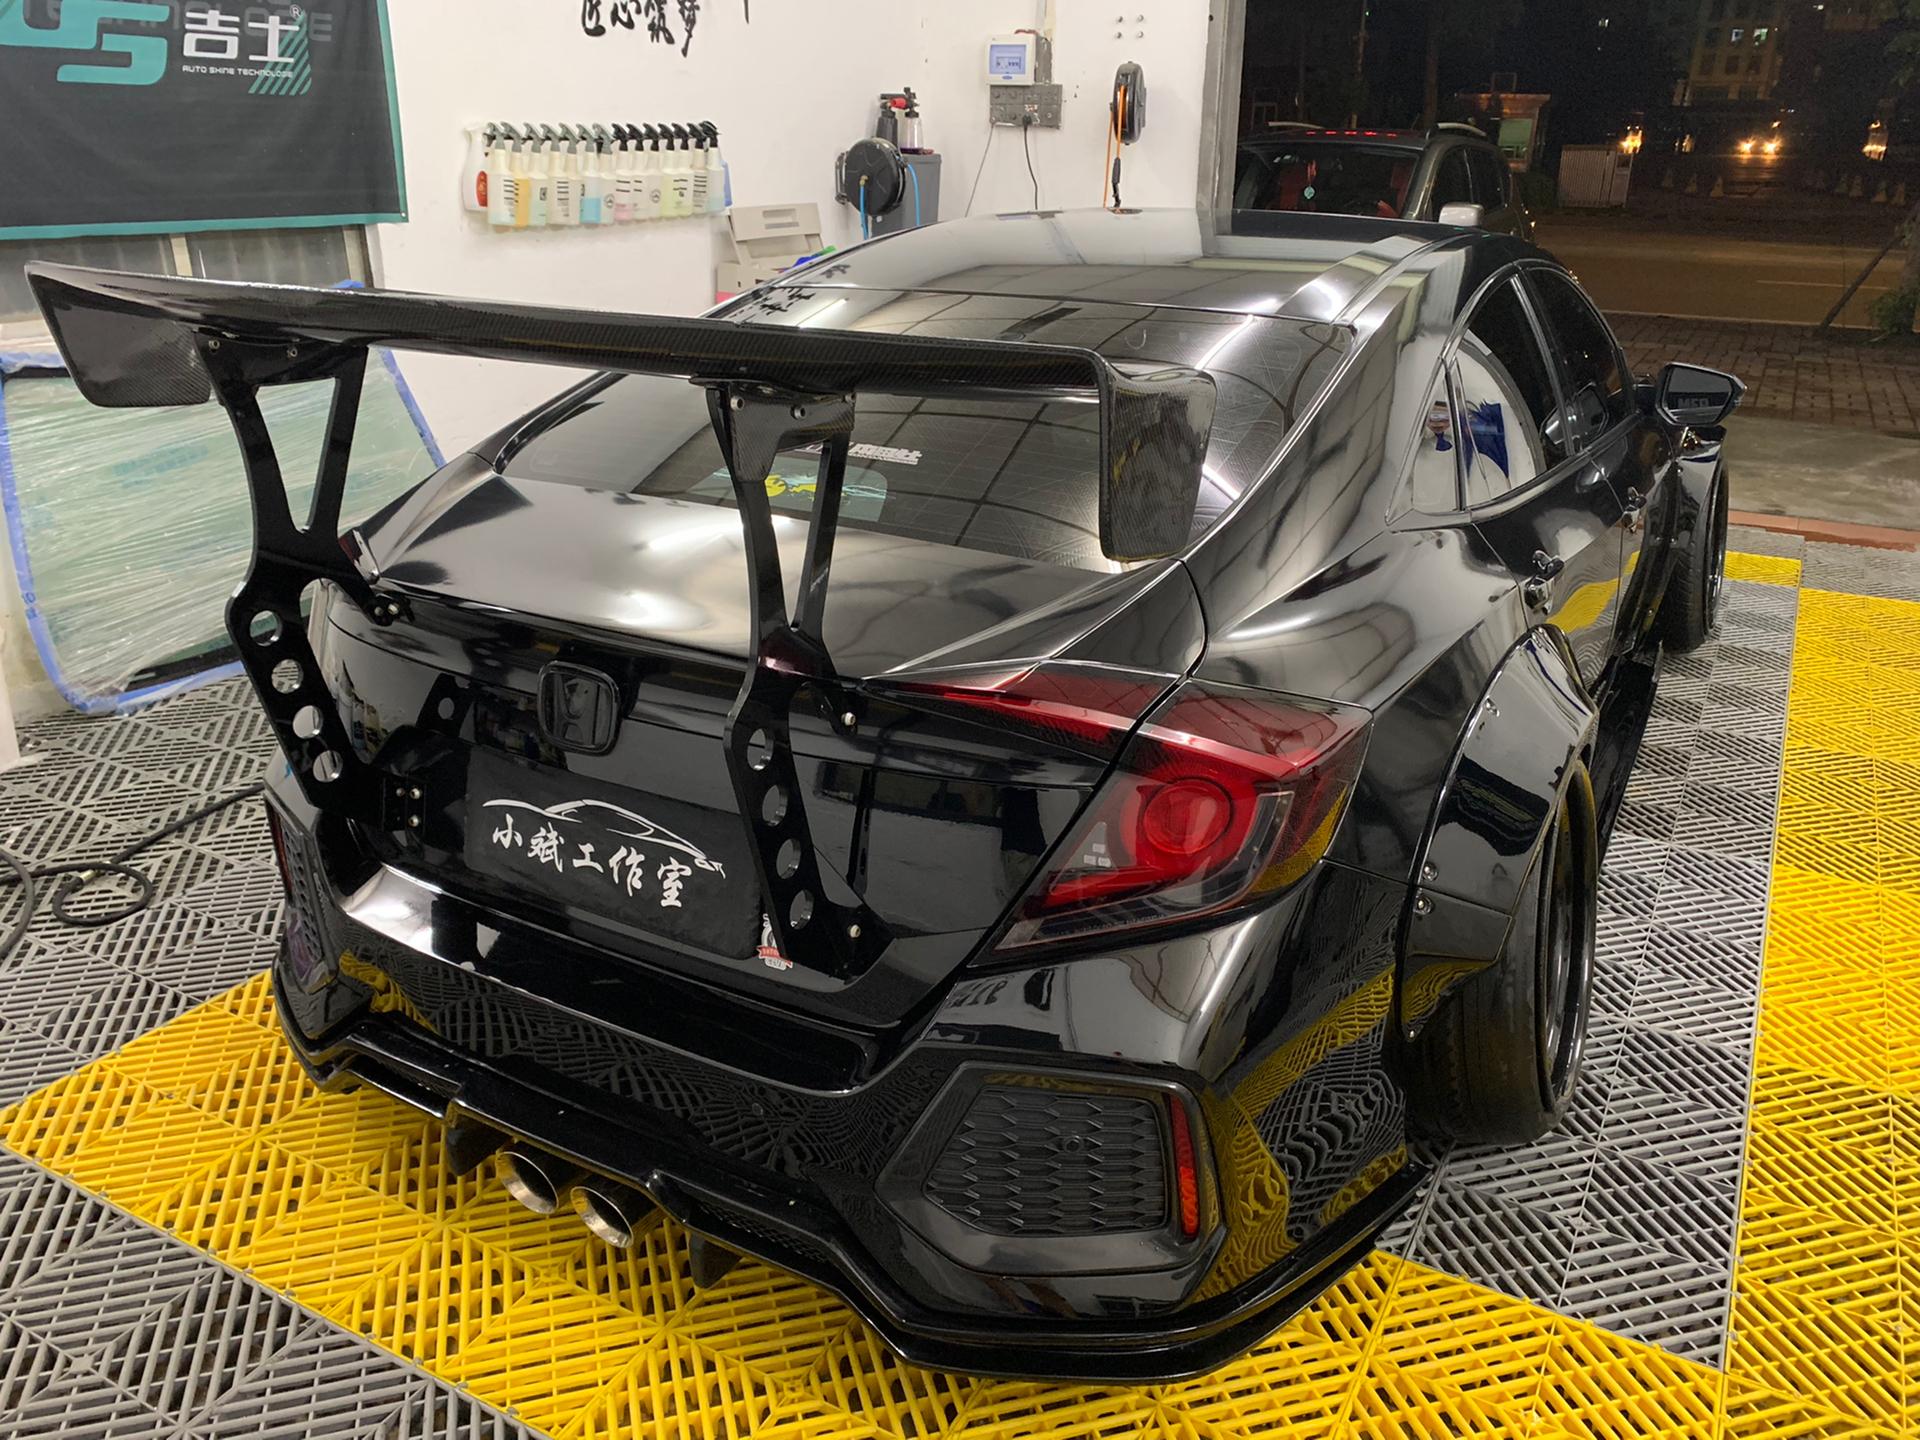
Please configure the body kit using the options provided, you can choose from FRP Material or Partial/Full Carbon Fibre.
The listed price reflects the cost for the base kit. We offer the flexibility to add optional extras like our bonnet or spoilers; however, these are not mandatory for the kit installation. Please note that for all widebody installations, cutting into the arches and quarter panels is a standard procedure unless mentioned otherwise in the product details. Additionally, to achieve the desired look and fitment, the use of wider wheels or spacers will be necessary.
Regarding our narrowbody kits, there is no need to cut into the original vehicle unless explicitly mentioned in the product description. By default, the body kit configurator sets the front bumper or splitter as your choice. Please specify any additional parts you wish to purchase. Note that not all products feature the configurator option.
FRP, with a Primed Black, Grey, or White Finish
*FRP (Fibre Reinforced Polymer) is a composite crafted from carbon fibre and reinforced polymers. When selecting the FRP option, it arrives with a primed finish, intended for professional preparation and painting. It’s essential to have the FRP professionally installed to ensure optimal results. Please be aware that any markings or pockmarks are inherent characteristics of resin within the FRP and are not indications of product defects.
Unless specified otherwise, all carbon fibre options are made of CFRP (Carbon Fiber Reinforced Polymer), which combines carbon fibre with a polymer for added strength and durability. If the product is made of dry carbon fibre, it will be clearly indicated in the product title.
Carbon Fibre with UV Protection Clearcoat:
The standard pricing applies to Carbon Fiber components featuring a 3k (2×2) weave pattern with a glossy finish. Please note that matte carbon and forged carbon options are available at an additional cost.
More information can be found here: https://robotcraftsman.co.uk/understanding-the-difference-cfrp-vs-dry-carbon-fiber/
Forged Carbon pattern +20%, Matte Finish +10%
Additional fees will be billed separately.
Please allow 2 weeks for FRP kits to be made and 4-5 weeks for Carbon Fibre body parts.
Sea Freight: 1-2 Months
Air to Local Airport: 10 Working Days
Air to Door: 10 Working Days
The listed price does not cover UK taxes, installation charges, or customs duties, and shipping is not included (unless stated otherwise). For a precise international shipping estimate, please get in touch with us.
Be aware that all body kits are produced on a made-to-order basis. As such, once an order is placed, we cannot process refunds because production starts right away. Upon arrival in your country, you might incur additional customs charges, for which we are not liable.
We strongly suggest opting for a professional installation for all our parts, though some customers have achieved satisfactory results with DIY methods. Our replacement parts and narrowbody kits, which include items like bonnets, side skirts, diffusers, and splitters, don’t necessitate any cutting. If you have any doubts or queries, please contact us. The need for modifications, if any, should also be highlighted on the individual product listings.
For professional installers, visit: https://robotcraftsman.co.uk/robot-installers/
All components are delivered in a primed state in black/grey/white FRP (a carbon fibre-reinforced polymer composite). While you have the choice to either paint or wrap the kit, it’s essential to remember that a professional should install it. Prepping the FRP is crucial before applying paint or vinyl, and there might be a need for minor adjustments for an exact fit straight from the package.
**Specific to Widebody Kits:
Setting up an aftermarket body kit, no matter its brand, can occasionally be a challenge, especially for those not familiar with the process. If you’ve tried positioning parts manually against the vehicle or attempted to align them just by holding them together, and things don’t seem right, don’t be alarmed.
Over time, we’ve addressed numerous queries from our clients, with a recurring one being, “How can I make my car look as polished as the ones in your photos?” To address this, we’ve compiled a series of handy steps and guidelines which reflect our method of fitting almost any wide body kit.
Dry Fitting: An Essential First Step
Before you dive in, it’s imperative to ‘dry fit’ the entire body kit. As you position each piece, you might find some parts not lining up initially. However, as you continue the process, the pieces often start to fit together seamlessly. Remember, composite components can easily warp, especially if they’ve been stored improperly. Some might need time to revert to their original form.
If, after fitting most of the kit, some sections don’t seem right, you can gently heat the area (preferably with a heat gun, not a hair dryer) to make minor adjustments. Secure the reshaped part in place using clamps or duct tape, allowing it to set. Our best practice is to let all the parts sit for a day after placement. This pause gives us a clearer perspective, making the subsequent alignment and refining steps easier.
After setting up the kit and aligning the gaps, we then attach original accessories like grilles, headlights, taillights, and wheels. This helps verify the fit and provides an opportunity to make any last-minute adjustments before prepping the parts for paint.
Dry fitting is invaluable. It helps identify and rectify imperfections before painting, which is our secret to achieving a flawless finish.
The ‘Back to Front’ Approach
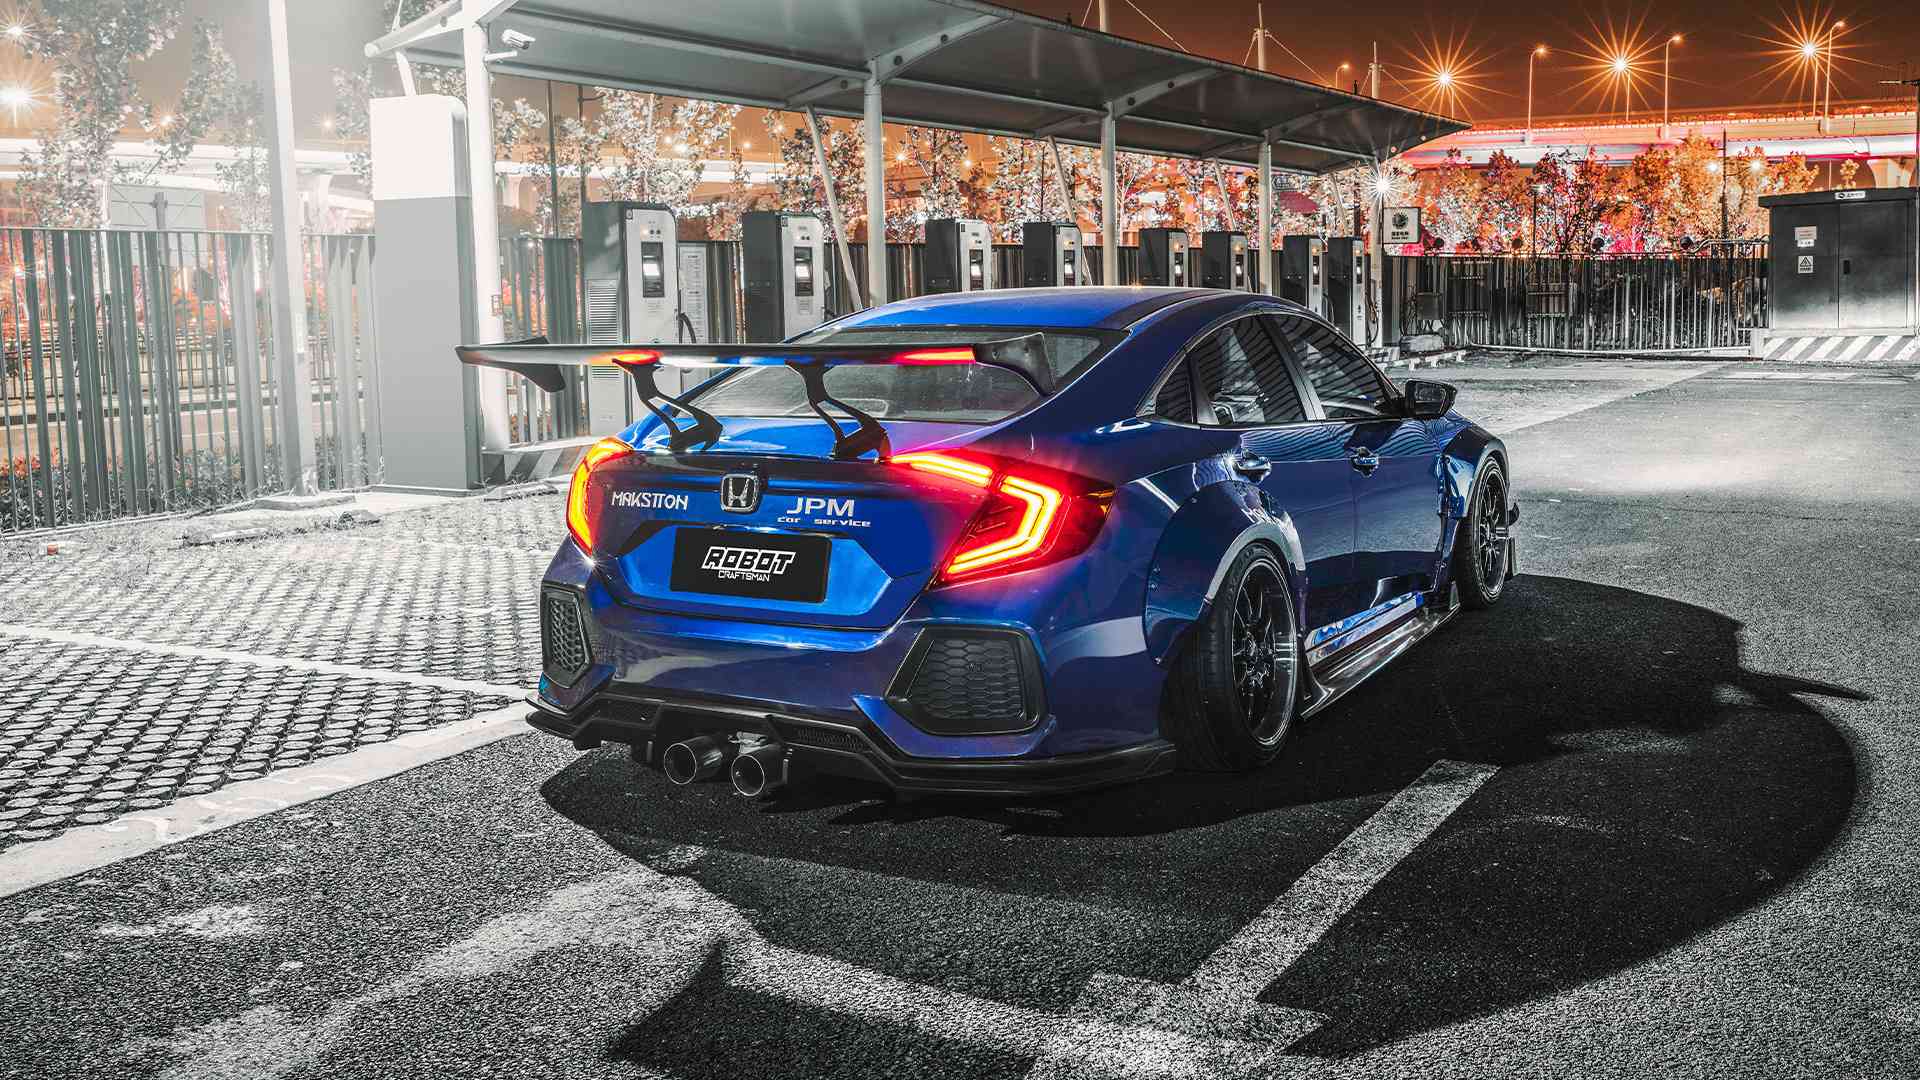
For wide body kits, the rear quarters are pivotal. Once set, there’s little room for error. Components such as fenders, bumpers, and the hood (or bonnet) are fastened with screws, allowing for later realignment. Here’s our suggested sequence for installation:
Start by fitting the rear bumper and side skirts to guide the positioning of the rear quarter panel. Once aligned with the side skirt and bumper, you can drill holes for a temporary fit.
Narrowbody Kits: A Note
For narrowbody kits, there’s no need to cut. However, we still recommend dry-fitting the FRP components before painting. Always opt for professional body shops skilled in working with FRP, Carbon, or Polypropylene to ensure the best results
Professional Installation: Always employ a seasoned expert for the fitting of resin and carbon fibre components. Self-installation or using untrained technicians is strongly discouraged. Should any queries arise during the installation, our sales team is on standby to offer step-by-step guidance.
Material Differences: Resin and carbon fibre materials differ significantly from many standard automotive parts. Differences in characteristics compared to original parts are to be expected.
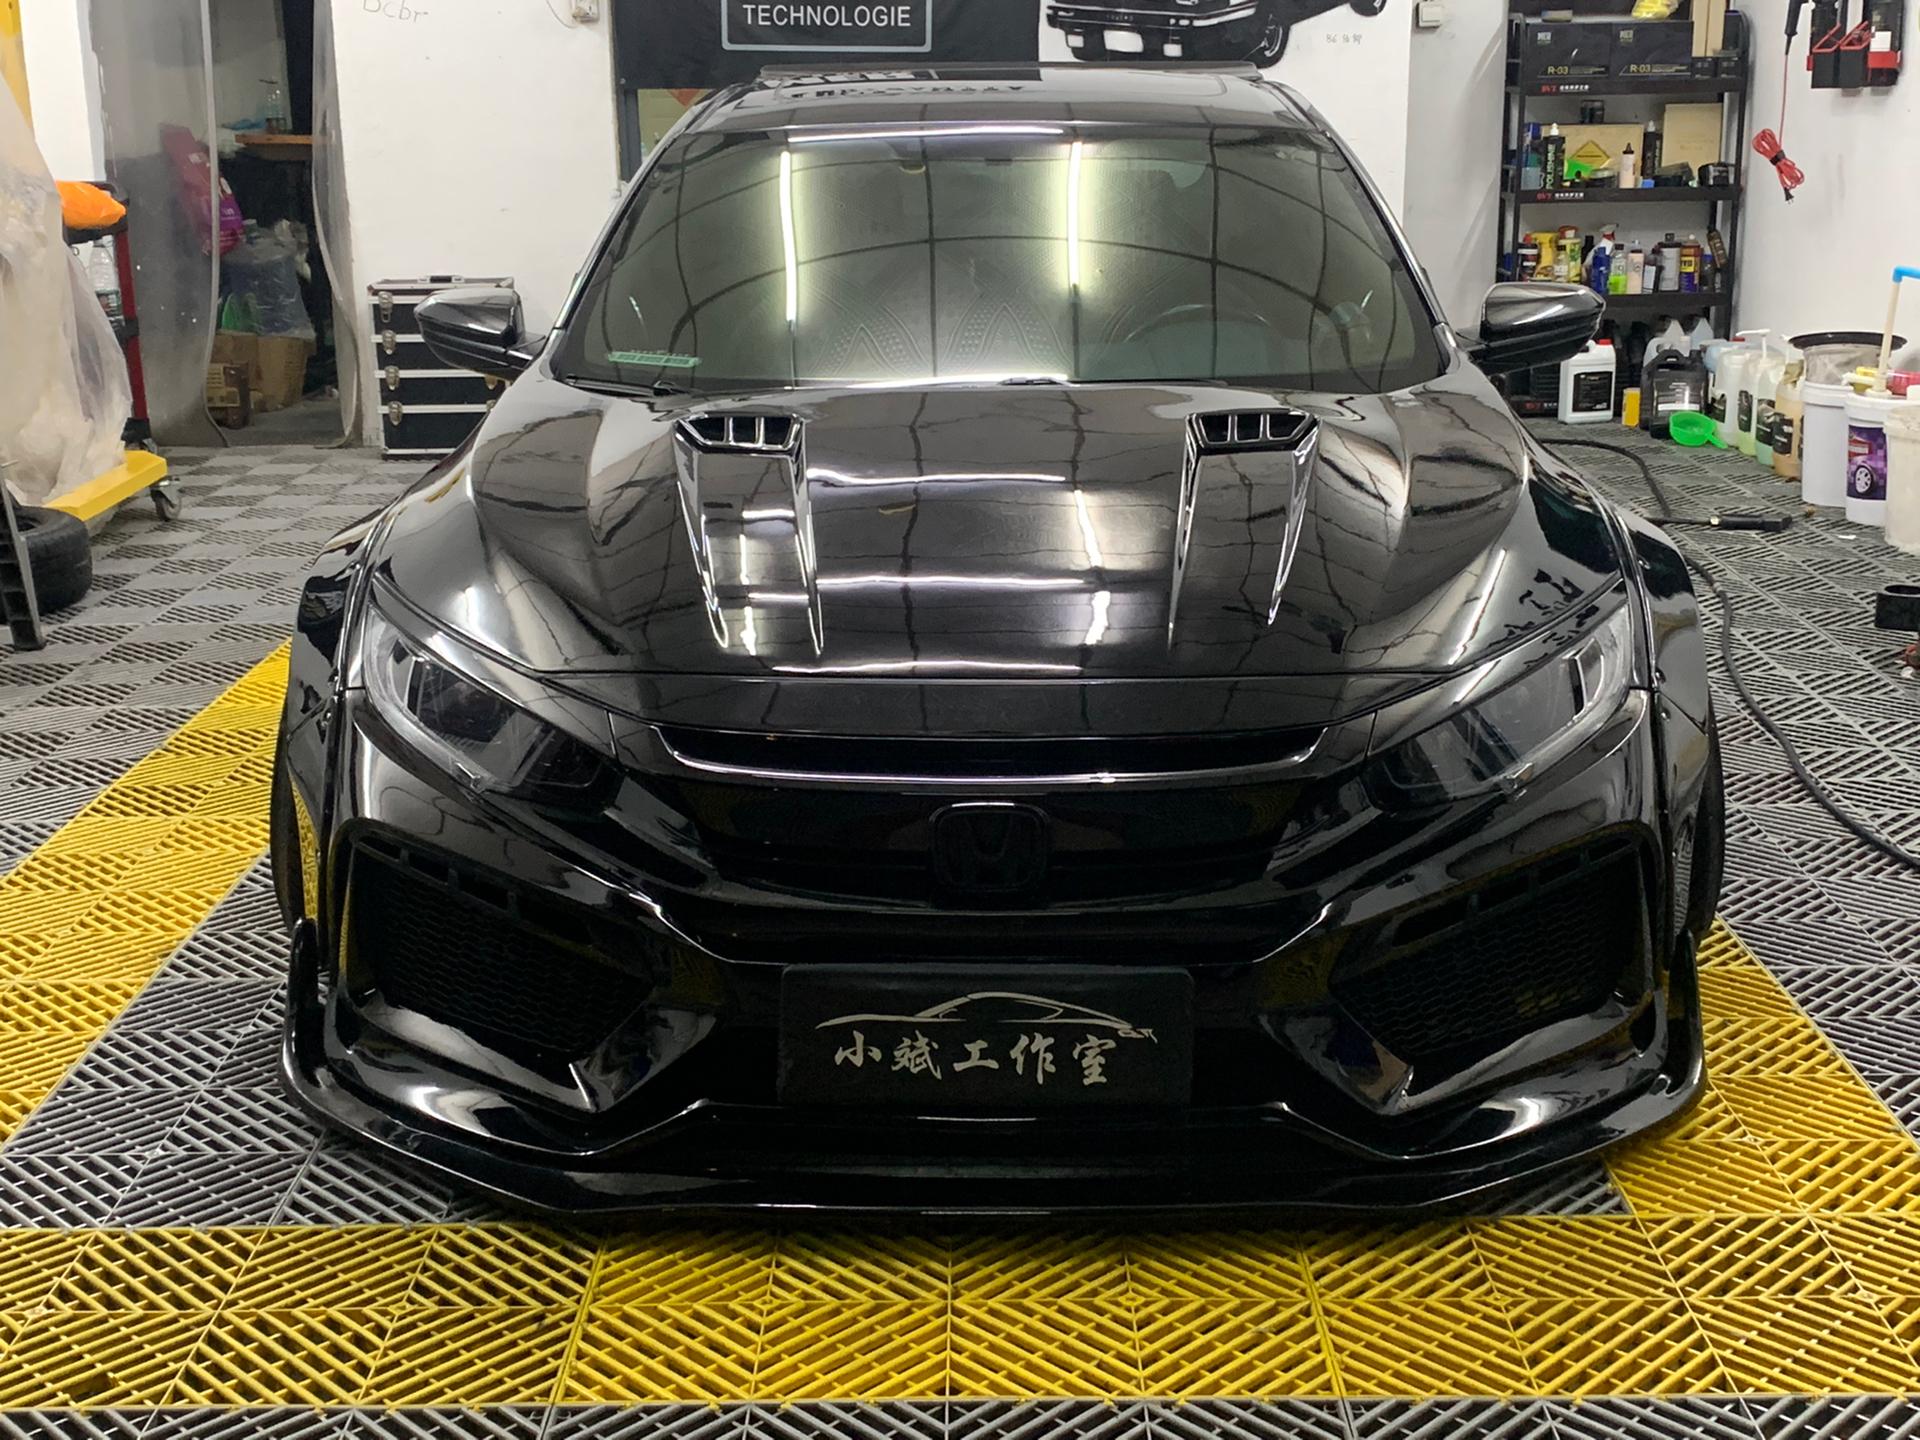
Renderings vs Reality: Product renderings might not perfectly match the actual vehicle’s appearance. The real-life look is the definitive outcome. Not all accessories displayed in renderings may be available, so please refer to the actual products available for purchase.
Carbon Fibre: Carbon fibre components can be fitted without the need for painting.
Product Receipt: Upon receiving your order, promptly inspect the items. Confirm the items are undamaged before signing the delivery receipt. Any refusal to allow an inspection is groundless. If damage is observed, notify the driver, decline the package, and contact us. This procedure ensures we can pursue compensation for any damages.
Resin Characteristics: Due to inherent properties of resin, achieving ultra-fine fasteners is challenging. As a result, some accessories may be attached using adhesives, which could present a less polished appearance on the reverse side. However, this will not impede functionality or the front-end aesthetics.
Original Fenders: For widebody kits, it’s advisable to safely store any original fenders or parts removed during installation. Reacquiring them later might be costly.
Prepping Resin for Paint: Before painting a resin component, ensure its surface is thoroughly sanded and primed to prevent any paint issues.
Painting Resin Products: Due to the nature of resin, the painting process may require additional sanding and hole-filling. Some paint shops might charge a premium for resin parts. It’s vital to inspect the painted surface for imperfections like pockmarks or unevenness, which can be addressed during the paint application. Such issues stem from resin properties, not product flaws.
Warranty: All our products come with a one-year warranty. Should a product fracture under normal use, we’ll replace it at no charge. However, the warranty does not cover damages resulting from collisions, improper installation, or external factors. Replacement shipping fees are not included in the warranty.
By purchasing or using our products, you acknowledge understanding and agreeing to these terms.
The products sold on this website, including those sourced from our partners, are designed exclusively for racing and competition. These products are not intended for road use or public highways. Any use of these products must comply with the rules and regulations of officially sanctioned motorsport events. It is the buyer’s responsibility to ensure compliance with all applicable laws and regulations of their country, including but not limited to the UK and US.
Tyre Wall Stickers Ltd t/a Robot Craftsman EU makes no representations or warranties regarding the legality or suitability of these products for road use. By purchasing these products, the buyer assumes all risks and responsibilities for any consequences associated with their use.
Registered Company Name: Tyre Wall Stickers Limited T/A Robot Craftsman
Registered Company Number: 09373841
Email: [email protected]
Phone: +44 1858555583
Registered Address: 45 North End, Hallaton, LE16 8UJ