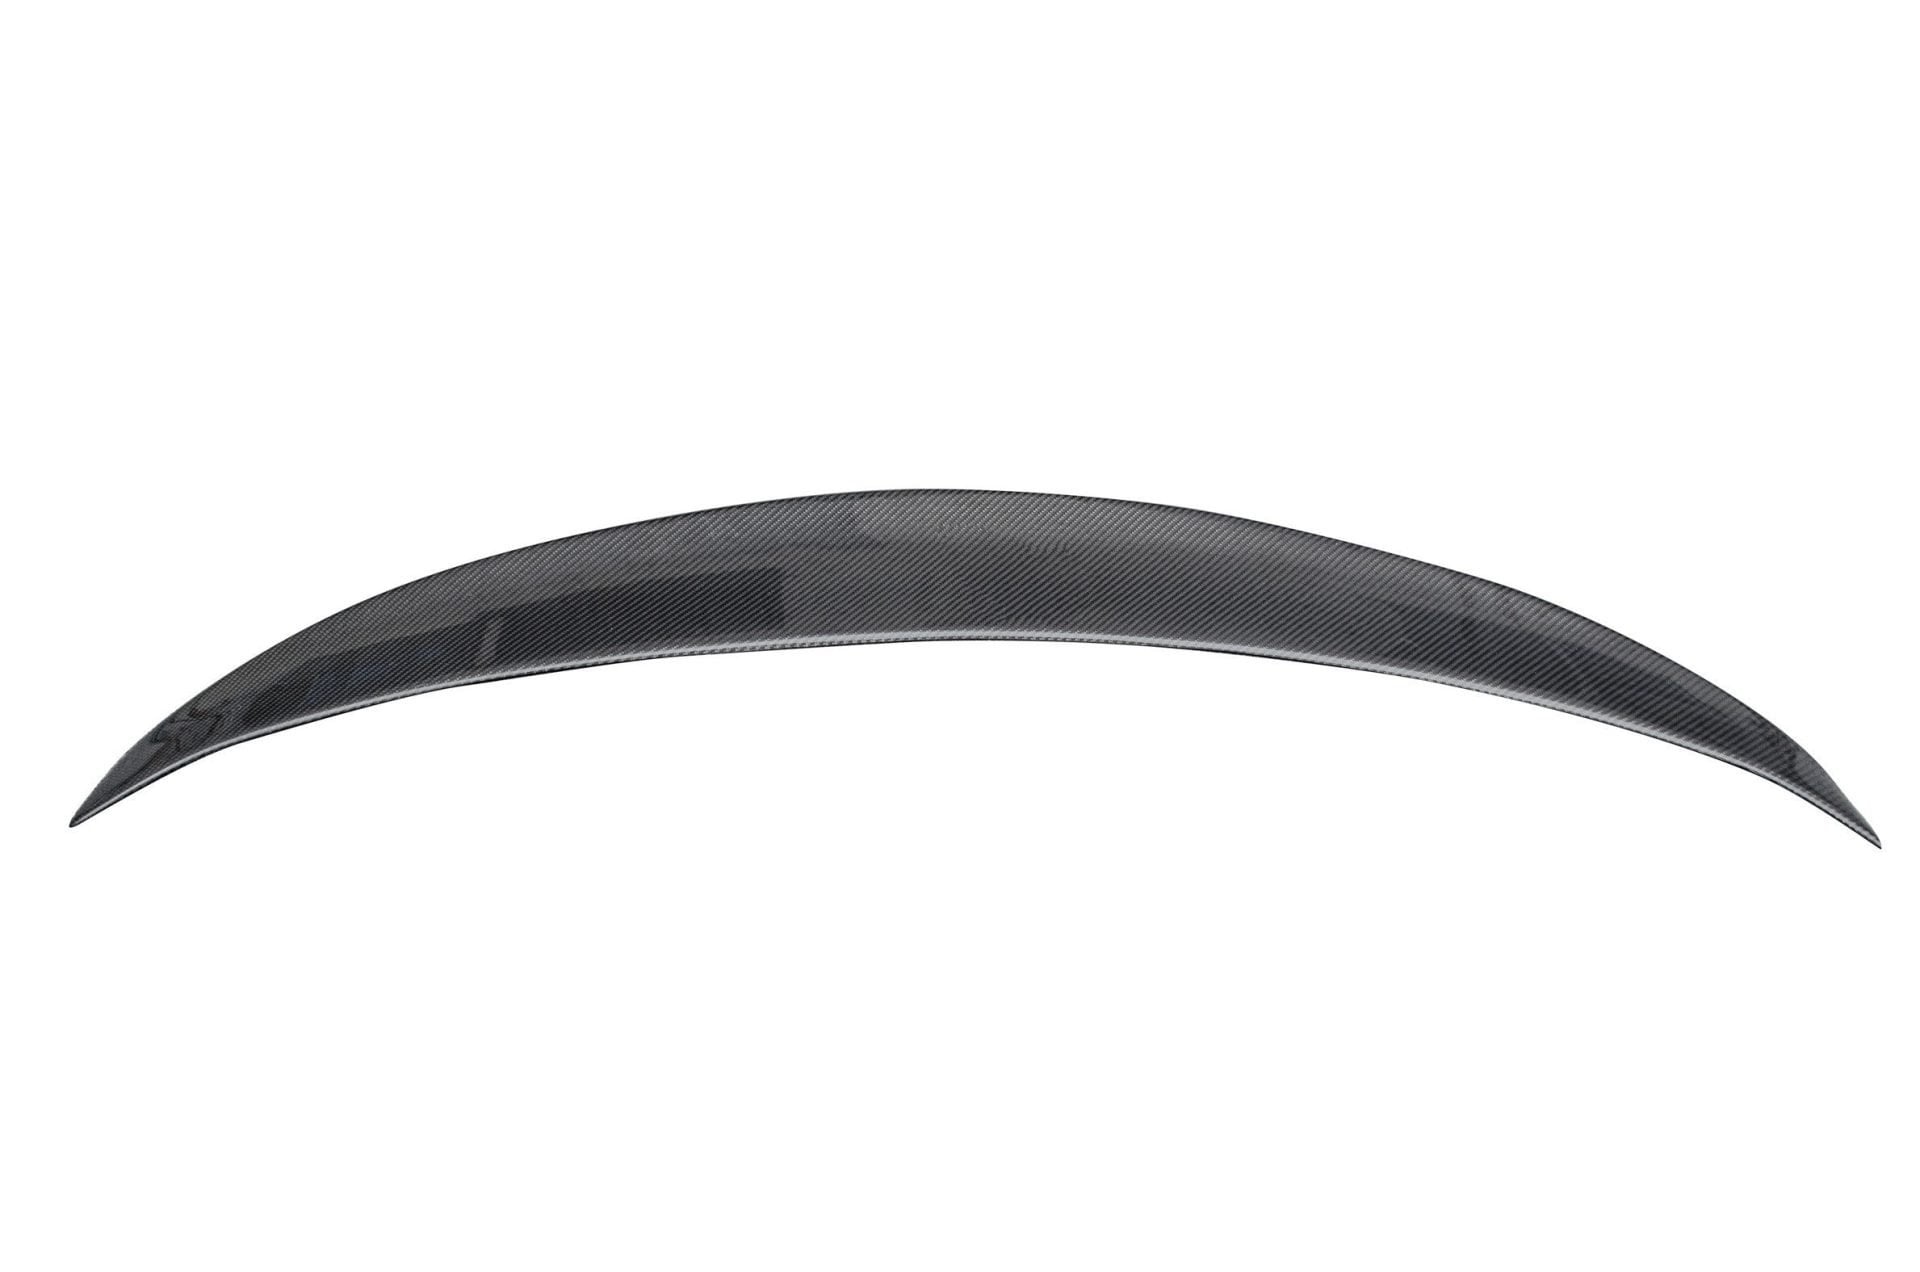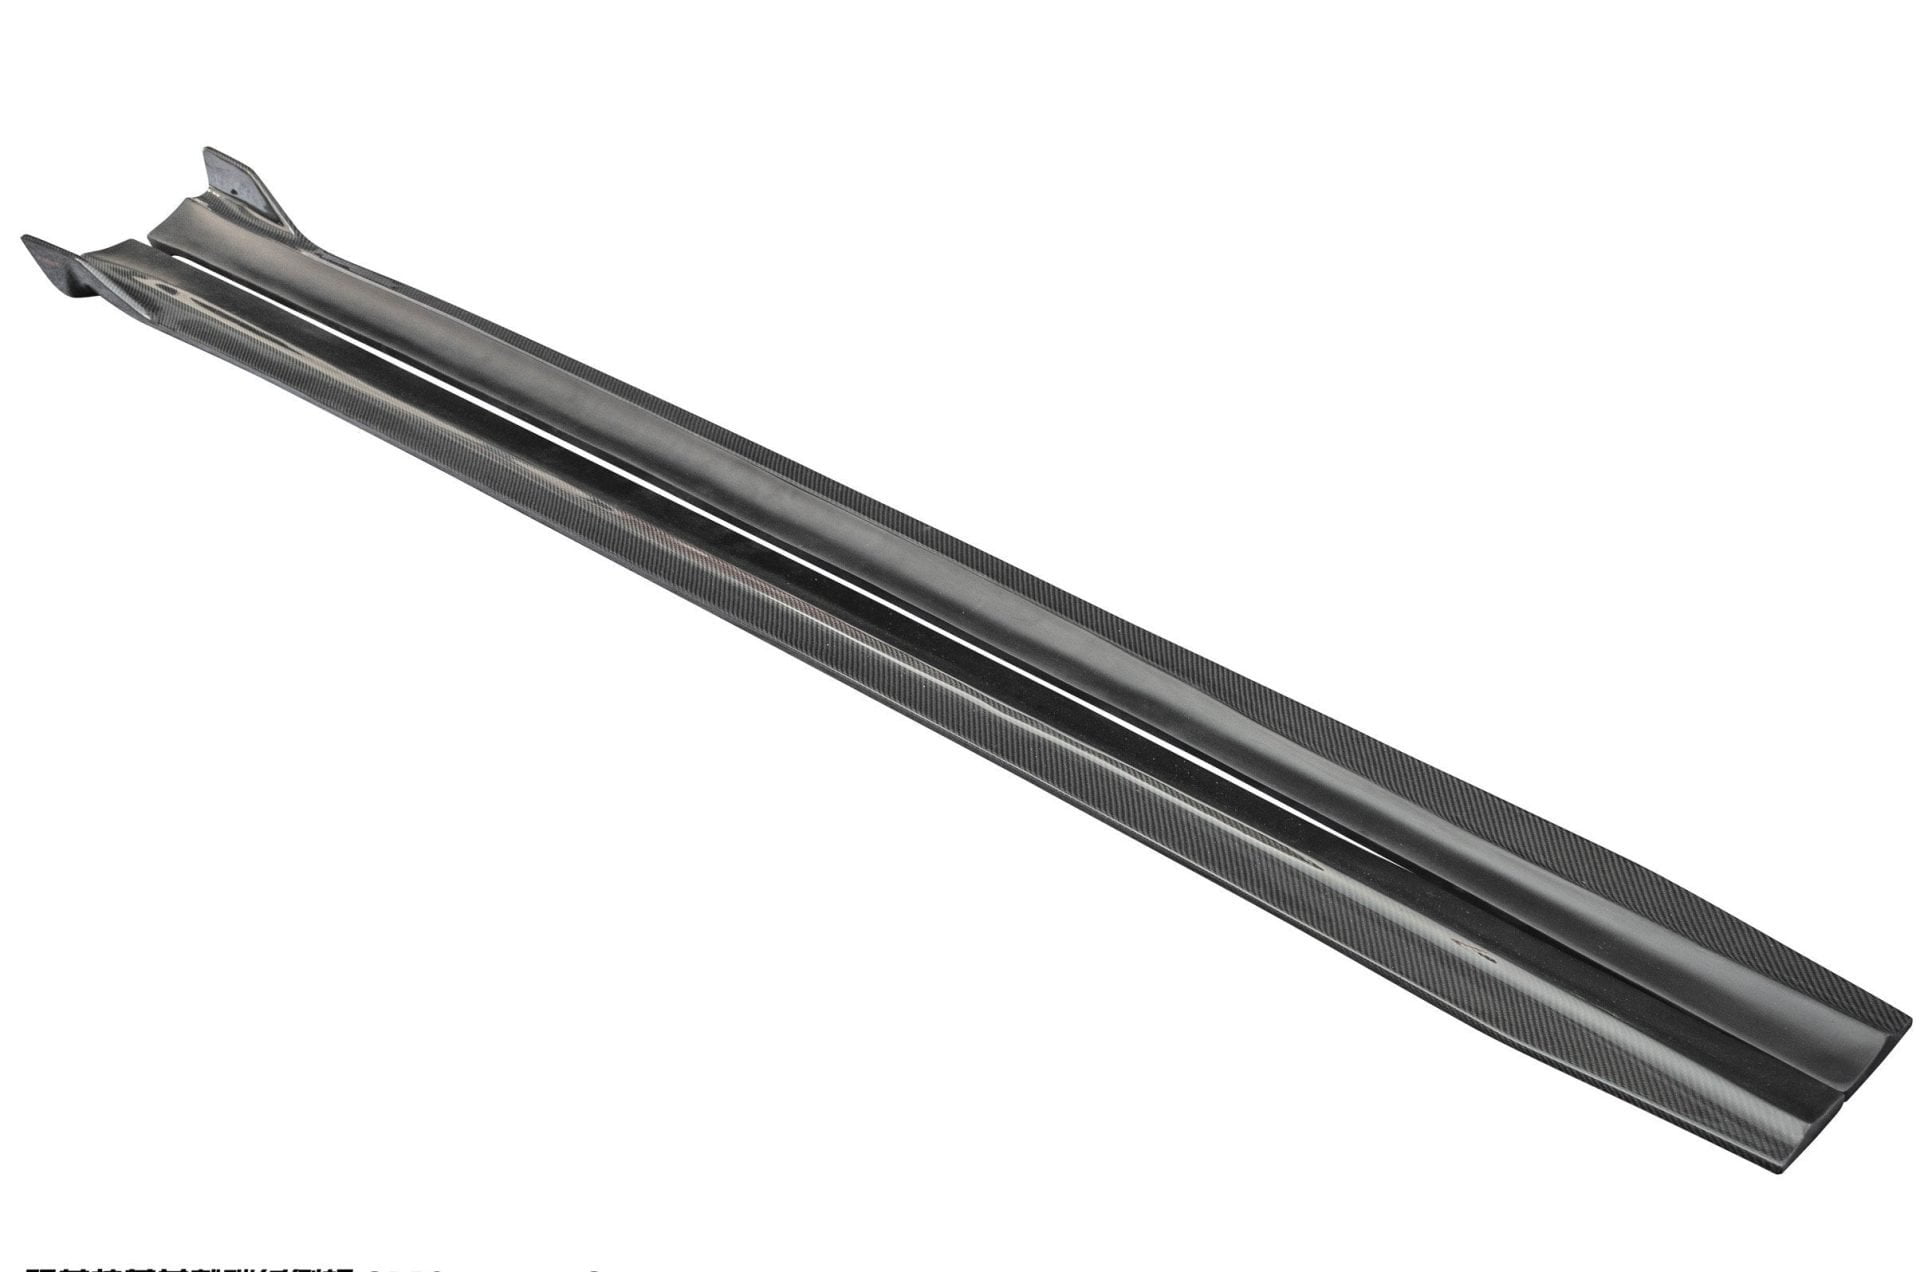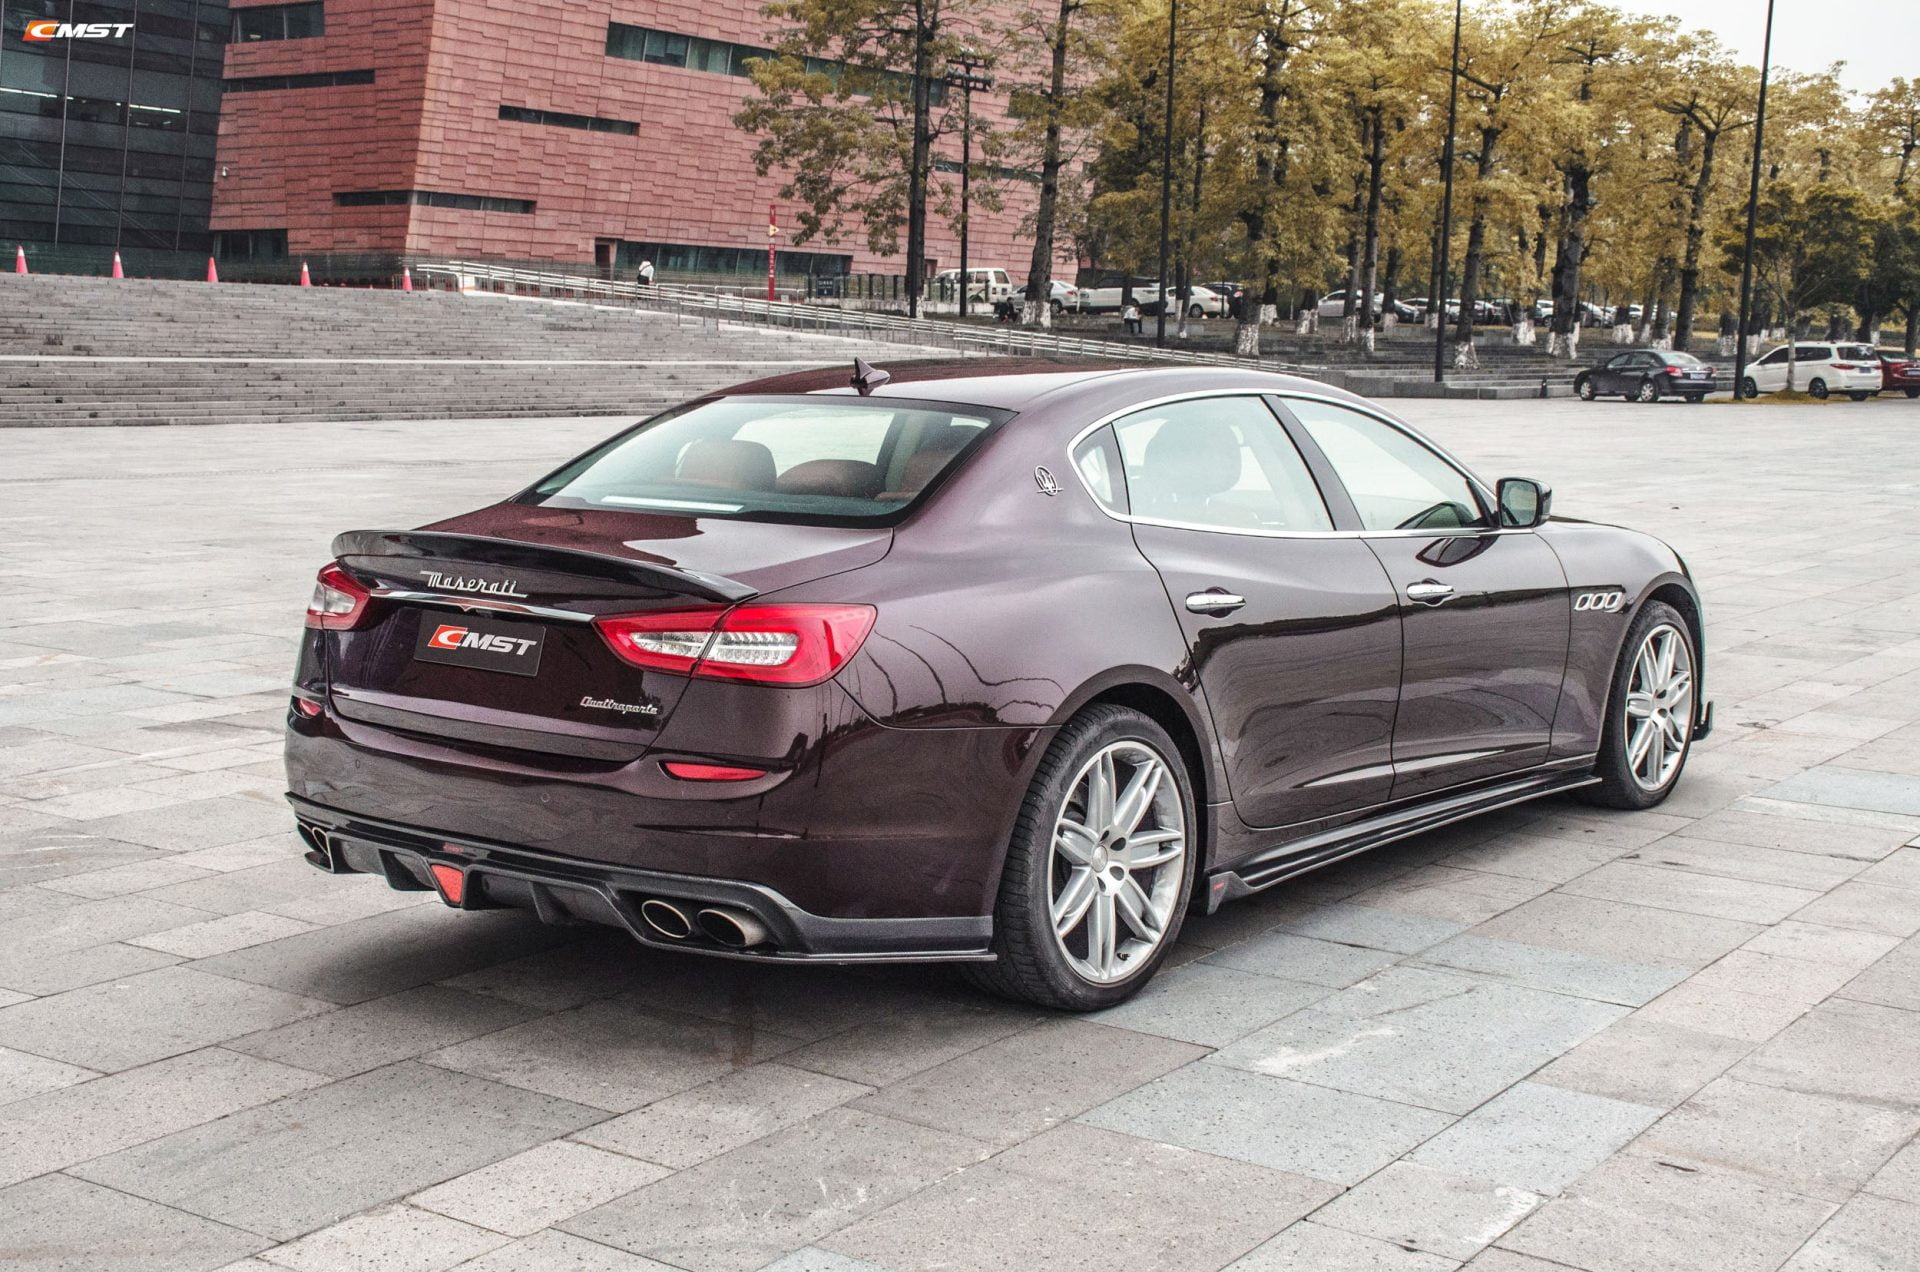

Introducing the CMST Carbon Fiber Full Body Kit for Maserati Quattroporte 2013-2016 – the ultimate enhancement for your luxury sedan. Crafted with precision and elegance, this full package is designed to elevate the aesthetic and performance of your vehicle to a whole new level.
Material & Finish
Crafted from Real Carbon Fiber with UV Protection Clearcoat, this body kit not only exudes an air of sophistication but also ensures lasting durability. The glossy finish adds a touch of luxury to your Quattroporte, making it stand out from the crowd.
Full Package
This comprehensive kit includes four essential components that seamlessly blend with your vehicle’s contours, transforming its appearance:
Default Finish
The default finish for these carbon fiber parts is a 3k (2×2) Woven Pattern Carbon Fiber with a high-gloss Clear Coat Finish. This choice not only ensures quality but also maintains the kit’s visual excellence.
With the CMST Carbon Fiber Full Body Kit, you can achieve the perfect blend of style, performance, and luxury for your Maserati Quattroporte. Elevate your driving experience and turn heads wherever you go with this exceptional body kit. Experience the epitome of automotive refinement with this exquisite upgrade.
Upgrade your Maserati Quattroporte with the CMST Carbon Fiber Full Body Kit and experience the pinnacle of style and performance. Elevate your driving experience to new heights with this exceptional package.
£3,035.00 Original price was: £3,035.00.£2,731.50Current price is: £2,731.50.
FRP, with a Primed Black, Grey, or White Finish
*FRP (Fibre Reinforced Polymer) is a composite crafted from carbon fibre and reinforced polymers. When selecting the FRP option, it arrives with a primed finish, intended for professional preparation and painting. It’s essential to have the FRP professionally installed to ensure optimal results. Please be aware that any markings or pockmarks are inherent characteristics of resin within the FRP and are not indications of product defects
Unless specified otherwise, all carbon fibre options are made of CFRP (Carbon Fiber Reinforced Polymer), which combines carbon fibre with a polymer for added strength and durability. If the product is made of dry carbon fibre, it will be clearly indicated in the product title.
Carbon Fibre with UV Protection Clearcoat:
The standard pricing applies to Carbon Fiber components featuring a 3k (2×2) weave pattern with a glossy finish. Please note that matte carbon and forged carbon options are available at an additional cost.
More information can be found here: https://robotcraftsman.co.uk/understanding-the-difference-cfrp-vs-dry-carbon-fiber/
Forged Carbon pattern +20%, Matte Finish +10%
Additional fees will be billed separately.
Please allow 2 weeks for FRP kits to be made and 4-5 weeks for Carbon Fibre body parts.
Please note: If you feel the website is overcharging you, please get in touch and we will check the shipping manually. It is impossible for the website to accurately work out shipping for every kit going to different destinations, we do our best to work out an “average” cost but don’t always get it right.
Sea Freight: 1-2 Months (TAX INCLUDED)
Air to Local Airport: 10 Working Days (Customer to collect, Tax & Import Fees not included)
Air to Door: 10 Working Days (Delivered to your door, Tax not included)
Price excludes Tax / Delivery / Fitting / Customs Fees. Please contact us for a more accurate international shipping quote.
Please be advised that all body kits are made-to-order “special ordered” products. There are NO REFUNDS once the order has been placed as the product goes into immediate production. Be expected to possibly pay an additional customs fee once it has arrived in your country. We are not responsible for this charge.
Please note – you will need to cut your existing fenders and quarter panels. We highly recommend professional installation, although some of our clients have been successful with DIY installations.
Installers: https://robotcraftsman.co.uk/robot-installers/
All parts come in primed black/grey FRP (Composite material comprised of carbon fibre-reinforced polymers). You can paint the kit or have it wrapped.
* A digital air management suspension system from OnAir or MasoAir (We supply) is also highly recommended for a bespoke fitment. Fully-adjustable Coilovers can be used in some situations, but we recommend OnAir or MasoAir Air Suspension to all clients.
**Does require much larger (width) wheels to accommodate the new over-fenders. Cutting the body is required for complete install. We can also supply 2-Piece Forged Wheels https://robotcraftsman.co.uk/cmst-two-piece/
***Rubber Gaskets & Installation Hardware may need to be purchased separately
Fitting an aftermarket body kit (regardless of its brand) sometimes may be difficult and get some lesser-experienced people quite of a headache. First of all – don’t worry that things don’t match when you place them by hand on the vehicle – or what’s even worse – when you try to align two parts with each other by simply holding them in hands.
Over the years, we had various questions from our customers like “How to get my car looking as good as yours on the photos” and we decided to outline a few easy tips and tricks that we use as well to show you our workflow of installing basically any wide body kit.
The first step of going with a wide-body kit is dry-fitting the body kit as a whole. As you will hang part by part, you will notice that some may not align properly at the beginning, but when you add up the rest, they start to make sense. As an installer, keep in mind that composite parts can get easily deformed (for example, when they were stored incorrectly) and some of them may need time to get back to their initial dimensions/shapes.
If you installed nearly all of the parts and in some places, parts seem to “go a bit off” you can easily fix that by applying some heat (we recommend a heat gun instead of a hair-dryer) to the part that needs to be bent a bit. Once aligned as desired, you can use a clamp or some ducktape to block the part in the desired position and leave the part to cure. Usually, after we hang all of the parts on the car, we left them for a day untouched so they can work a bit. Later on, we proceeded with aligning the gaps, sanding down the exceeding material.
When all of the body kit parts were installed, gaps were initially aligned, we proceeded with installing all of the OEM accessories like grilles, headlights, taillights, wheels – just to confirm that the fitment is as good as we thought and to make some final corrections and tweaks prior taking off the parts for preparation for painting the parts.
Dry fitting is strongly recommended because you can easily catch all of the imperfections and simply remove them before applying paint. That’s our secret to building a perfectly fitted car.
With wide-body kits, the most crucial part of the whole install is installing the rear quarters. Mostly because once molded, there won’t be any margin for mistakes. All other parts like fenders, bumpers, and hood (bonnet) are mounted with screws, so you have the ability to align them properly, later on, to make all of the gaps even. This is why we strongly recommend starting the installation process accordingly:
Simply said, install the rear bumper and side skirts, so you will have a clue where to install the rear quarter panel. Once you align it properly with the side skirt and rear bumper, you are good to go to drill some holes and temporary fix it to the car’s body.
1. Please find a professional for the installation of resin and carbon fibre parts. Do not install it yourself or find an inexperienced repair shop for construction.
If you have any questions during the installation process, please contact the sales staff in time. We will provide one-to-one installation guidance.
2. The materials of resin and carbon fibre products are different from many original car parts, so it is normal for their characteristics to be different from the original car.
3. The effect in the product rendering renderings may be slightly different from the real car. The specific effect is subject to the real car, and all the accessories in the renderings may not be developed.
Please refer to the actual development for the specific accessories. The accessories sold shall prevail;
4. Carbon fibre products can be installed without painting;
5. When receiving the product, be sure to unpack the product and sign for it after confirming that the received goods are not damaged. Logistics has no reason to refuse unpacking inspection. Reject and contact us to contact the logistics for compensation and timely reissue for you.
6. Due to the characteristics of the resin material, it is impossible to make particularly fine buckles. The installation of the mesh and some accessories of our products may adopt the method of sticking the buckles, which may lead to a poor appearance on the back of the product, but it does not affect the use and the final front.
7. It is recommended to properly retain the fenders surrounded and cut by the original factory after installation, and the cost of repurchasing them when they need to be restored is high;
8. Resin material surrounding film: the surrounding surface needs to be polished until the surface will not be watered.
9. Resin material spray painting: It is necessary to polish the surrounding surface and find sand holes to fill. Generally speaking, the paint shop will charge more for resin material products. The cost of painting is normal (some will not be charged).
Please check carefully whether there are trachoma or unevenness on the paint surface during acceptance. Normal painting shops should deal with this problem. Such problems are caused by the characteristics of resin products, not product defects. These problems can be solved in the painting stage;
10. The warranty period of all products is one year, and we will replace it for you free of charge if there is a spontaneous rupture in normal use, but if it is damaged by a collision or not installed firmly, it is not covered by the warranty scope.
The products sold on this website, including those sourced from our partners, are designed exclusively for racing and competition. These products are not intended for road use or public highways. Any use of these products must comply with the rules and regulations of officially sanctioned motorsport events. It is the buyer’s responsibility to ensure compliance with all applicable laws and regulations of their country, including but not limited to the UK and US.
Tyre Wall Stickers Ltd t/a Robot Craftsman EU makes no representations or warranties regarding the legality or suitability of these products for road use. By purchasing these products, the buyer assumes all risks and responsibilities for any consequences associated with their use.

Registered Company Name: Tyre Wall Stickers Limited T/A Robot Craftsman
Registered Company Number: 09373841
Email: info@robotworks.co.uk
Phone: +44 1858555583
Registered Address: 45 North End, Hallaton, LE16 8UJ